So, you have just installed new cabinets into your home. They look amazing, right? They look exactly the same you ever dreamed of. But, the issue is, you cannot open them and need to install some knobs or handles to make them work.
There is no denying the fact that small detailing can have a huge impact especially when it comes to your home décor. However, many people find it terrifying to drill holes right through their expensive doors and cabinets to install small and stunning new handles or pulls that you so carefully selected.
Wait, we have a solution. Go through this easy step-by-step DIY guide to install cabinet handles, pulls or knobs to have those cabinets ready to open in no time.
How to Select the Perfect Knobs and Pulls for your Cabinet?
Let’s face it, choosing the cabinet is far easier than picking the handles. This is why, we think it’s important to shed some light on different types of available cabinet hardware before discussing the installation process.
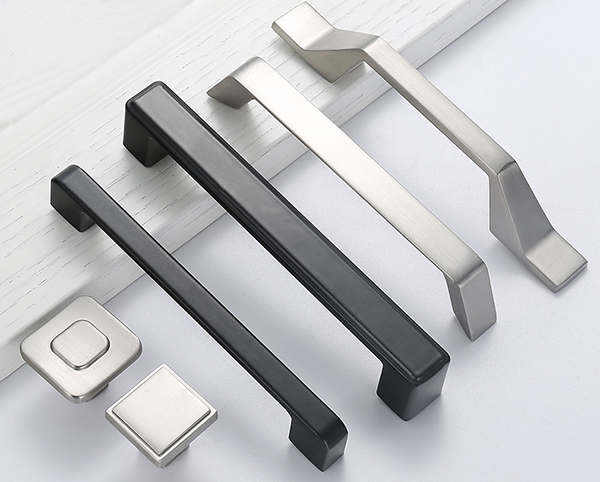
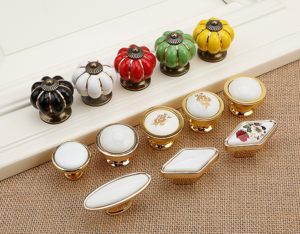
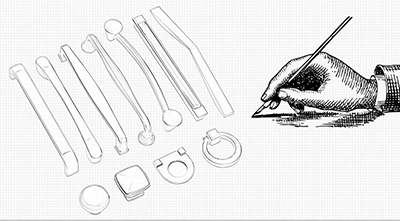
Cabinet Knobs
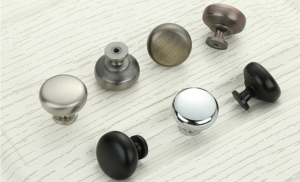
Knobs are one of the most simple and primitive types of cabinet hardware. Generally, it is fixed to the cabinet by means of just one screw. Today, you can find a vast array of cabinet knobs including metal knobs, wood knobs, or even plastic knobs that you can select on basis of your particular requirements.
Passage Knobs
Passage knobs are yet another type that can be locked on both sides of the door. You can find these knobs on children’s bedrooms or play area or places which barely require locking.
Opener Knobs
As its name suggests, opener knobs are installed from outside and you’ll need a key to open them. These knobs are used for securing privacy and are appropriate for areas which need to be kept private.
Apart from these basic types, you can also find cabinet handles, hinges and other types of cabinet hardware that comes in a variety of shapes, materials, and sizes.
How to Install Cabinet Handles?
One of the best ways you can install your cabinet handles perfectly is to use jigs. It just makes your DIY handle installation project easier. But, as we’re doing this guide for the first-timers, we’re trying to keep it as minimal and basic as possible. So, all you need to install your cabinet handles are:
- Handles/knobs
- Pencil
- Ruler
- Drill
- Screw
- Hammer
Step 1 – Measure
Before you actually start measuring or drilling, make sure to lay down a cloth or a newspaper to avoid falling debris ruin your carpet or floor. Then, with the help of a ruler, measure the point where exactly you want your handle to be fixed. You can either place it accurately in the center or can also offset a little bit. If possible, ask a friend or a family member to hold a handle for you so that you can see how it will look once you fix it over the cabinet. Mark the spots where you’ll drill and fix your screws.
Step 2 – Create a Pilot Hole
Once you’ve precisely marked the spots where you’ll drill your screws, it’s time now to form a pilot hole by hammering a nail into that specific area. Keep in mind, the nail should be inserted in a way that you can conveniently remove it by using the tail end of your hammer. However, it shouldn’t pass through the other side. Pilot hole is a great way to secure your wood from tearing apart and also makes drilling smooth and easier.
Step 3 – Drilling
After creating a pilot hole, you can now place drill bits into your machine. This is a tricky part as you might need to try different options to see which specific bit can perfectly fit in the hole. It’s important to understand that if you drill a smaller hole, you can also make it bigger by drilling more. However, there is obviously no way back once you have drilled a bigger hole than your requirements. Thus, it is very important that you carry forward this step with utmost care and perfection.
Once you’ve selected the right bit for your drill, it’s time now to start drilling. Repeat the same process if the cabinet has more than one screw.
Step 4 – Place Your Screw
After drilling, place your screw into the hole and fasten it into your knob. Take a screwdriver and tighten the screw. Make sure not to over tighten it as it may impact the opening/closing of the cabinet/drawer.
Step 5 – Clean Up
Hurray! You’ve successfully installed your first handle. Just give a quick clean up and remove newspaper or cloth you’ve used on the floor to prevent any mess.
Bonus Tips!

If you’re replacing your cabinet handles, you can cover the old holes with black plates. Also, you can make a DIY template by using two pieces of wood. This template can be perfectly used for almost any size of hardware. A thread sealant can keep the screws in place and tight. Just include a dab of sealant to every screw you install.
We hope this step-by-step guide shows you how simple and uncomplicated it is to install handles or pulls to your cabinets. The best bit? The DIY route of doing this installation is affordable too. The only thing you have to consider is to analyze your product carefully before starting a DIY installation as not all handles, pulls or knobs are created alike. Definitely, the procedure of installing them will be slightly different too.
Regardless of the product you choose, just be certain to do thorough research on your part. Don’t hesitate to ask for advice from your friends and family. Also, make sure to skim through different available online tutorials to learn the right way of installing your specific product.
Do you have any other tip that makes your life easier? Feel free to share any secrets you have that can make others’ life safer and hassle-free too.